

Get started
Installation
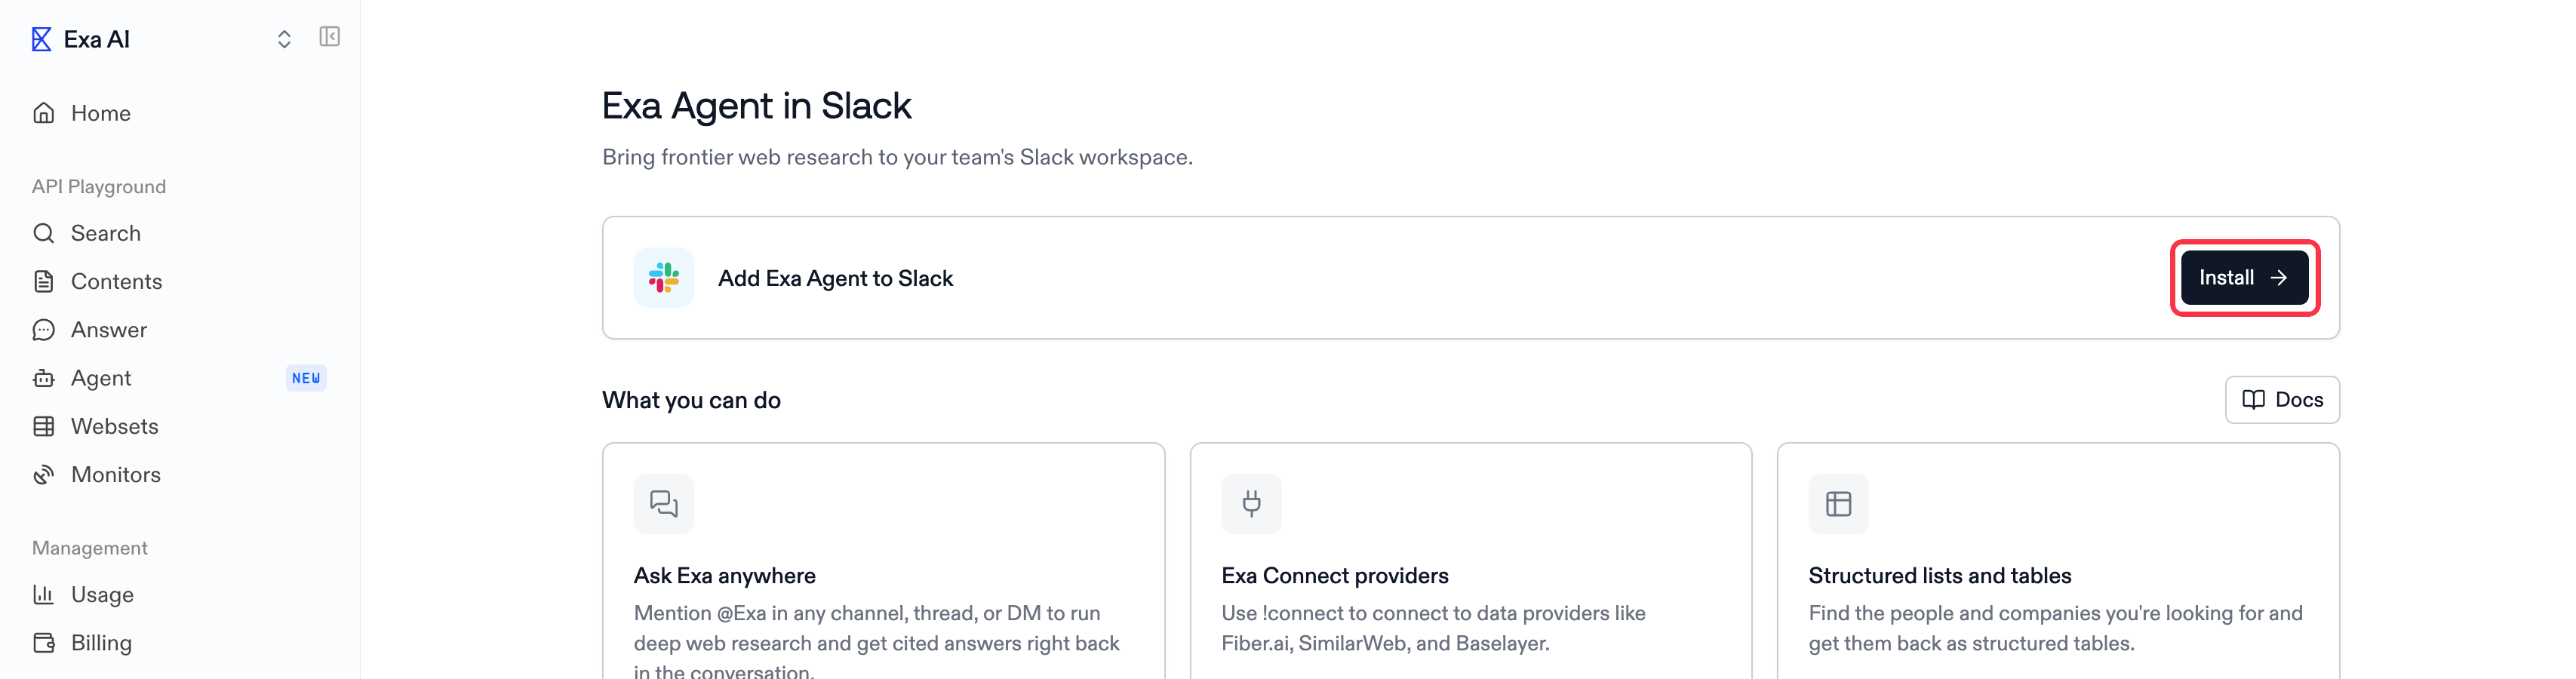
- Go to Dashboard > Management > Exa in Slack, then click Install.
- Slack’s OAuth flow opens. Pick the workspace you want Exa in, then click Allow.
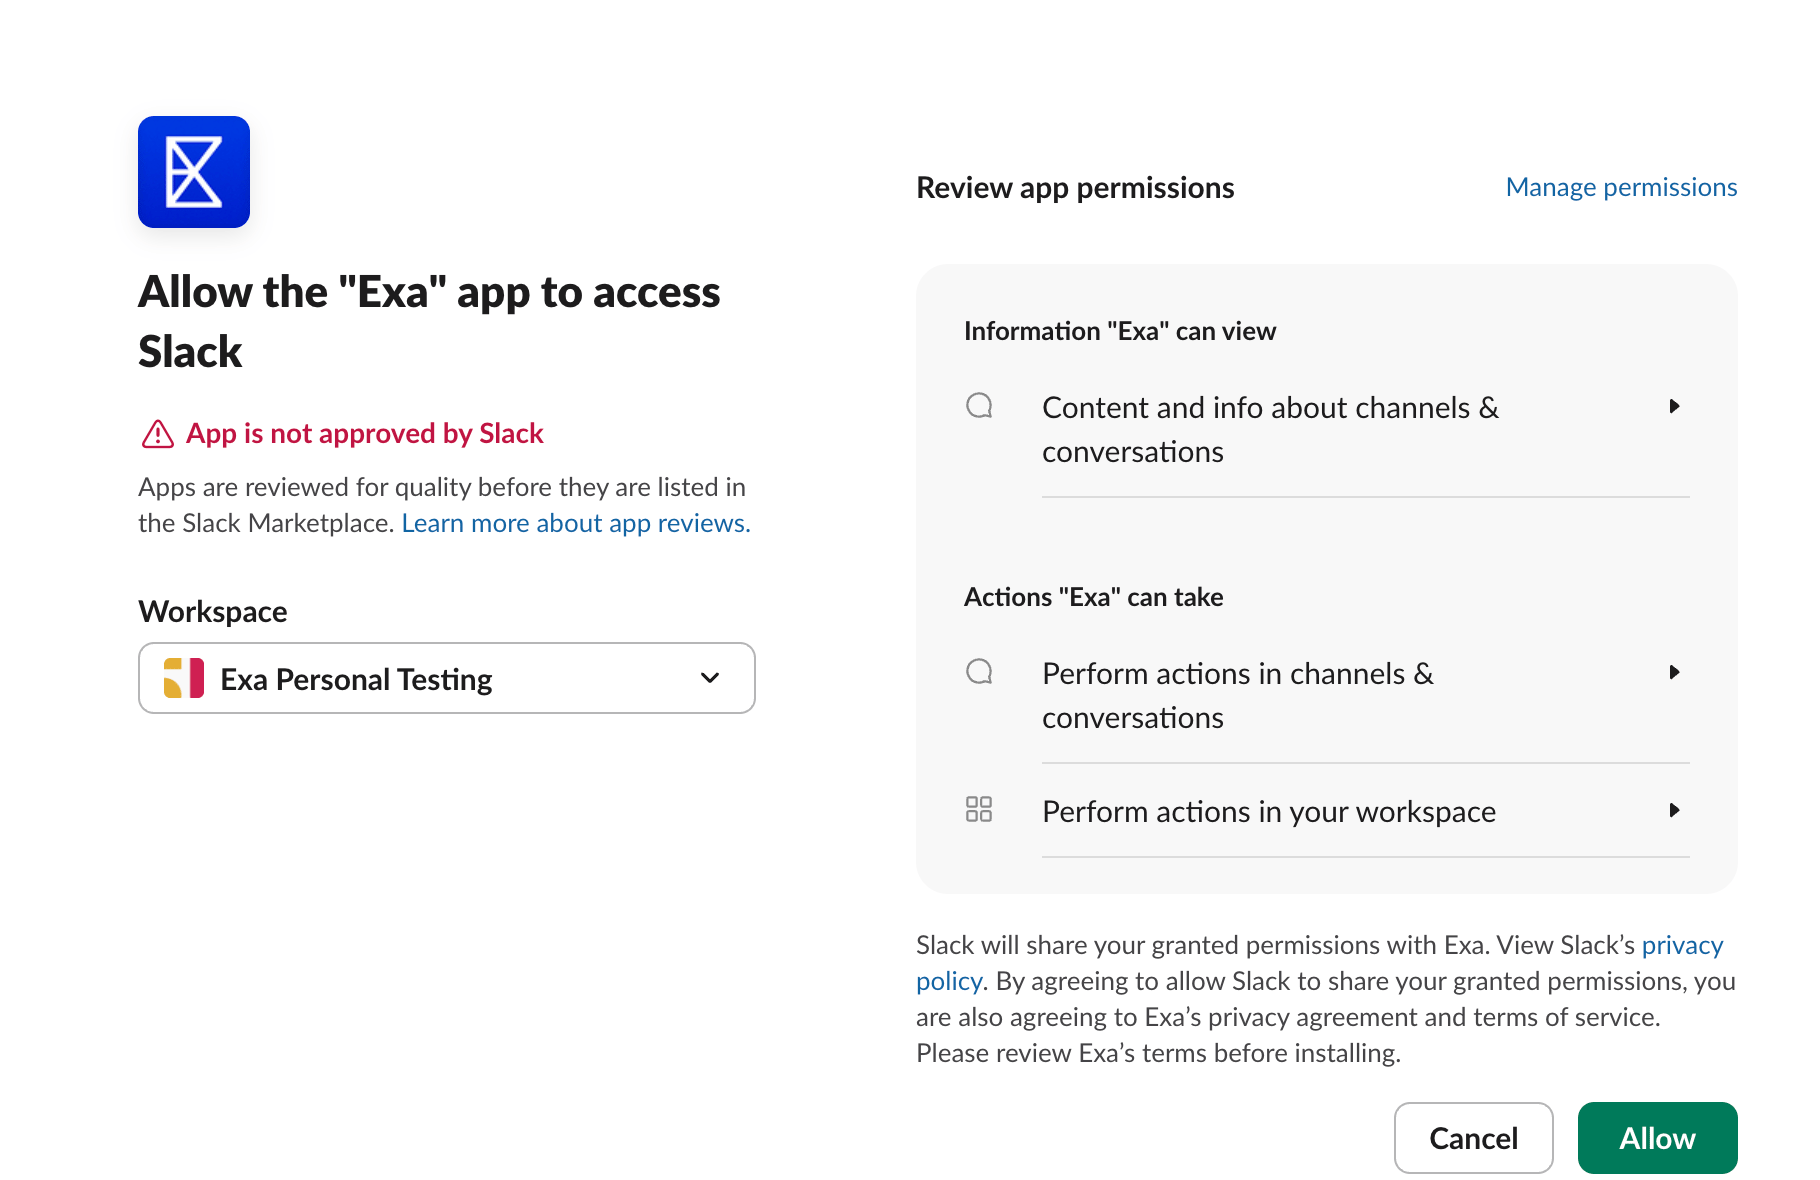
The red “App is not approved by Slack” notice is expected and safe to ignore. It only means
Exa isn’t in the public Slack Marketplace, not that anything is wrong.
- Once installed, invite @Exa to a channel (or DM it directly) and start asking questions.
How to use Exa from Slack
In any channel Exa has been added to, mention @Exa with your question:Follow-ups
Once Exa has answered in a thread, just reply in that thread to continue the conversation. No need to mention @Exa again. Exa remembers the conversation, so follow-ups build on the previous answer. Anyone in the thread can follow up.Direct messages
You can also message Exa directly in a DM. No mention is needed there at all. Each message you send starts a new request, answered in a thread under that message. Reply in the thread to continue that conversation.Cancelling a run
While a run is in progress, reply in the thread and ask Exa to stop the run. No mention needed.Exa Connect providers
Exa automatically includes Exa Connect data providers when they are relevant to your question. To use a specific provider, mention it in your message:Examples
News and current events
Learn about the latest info on anything.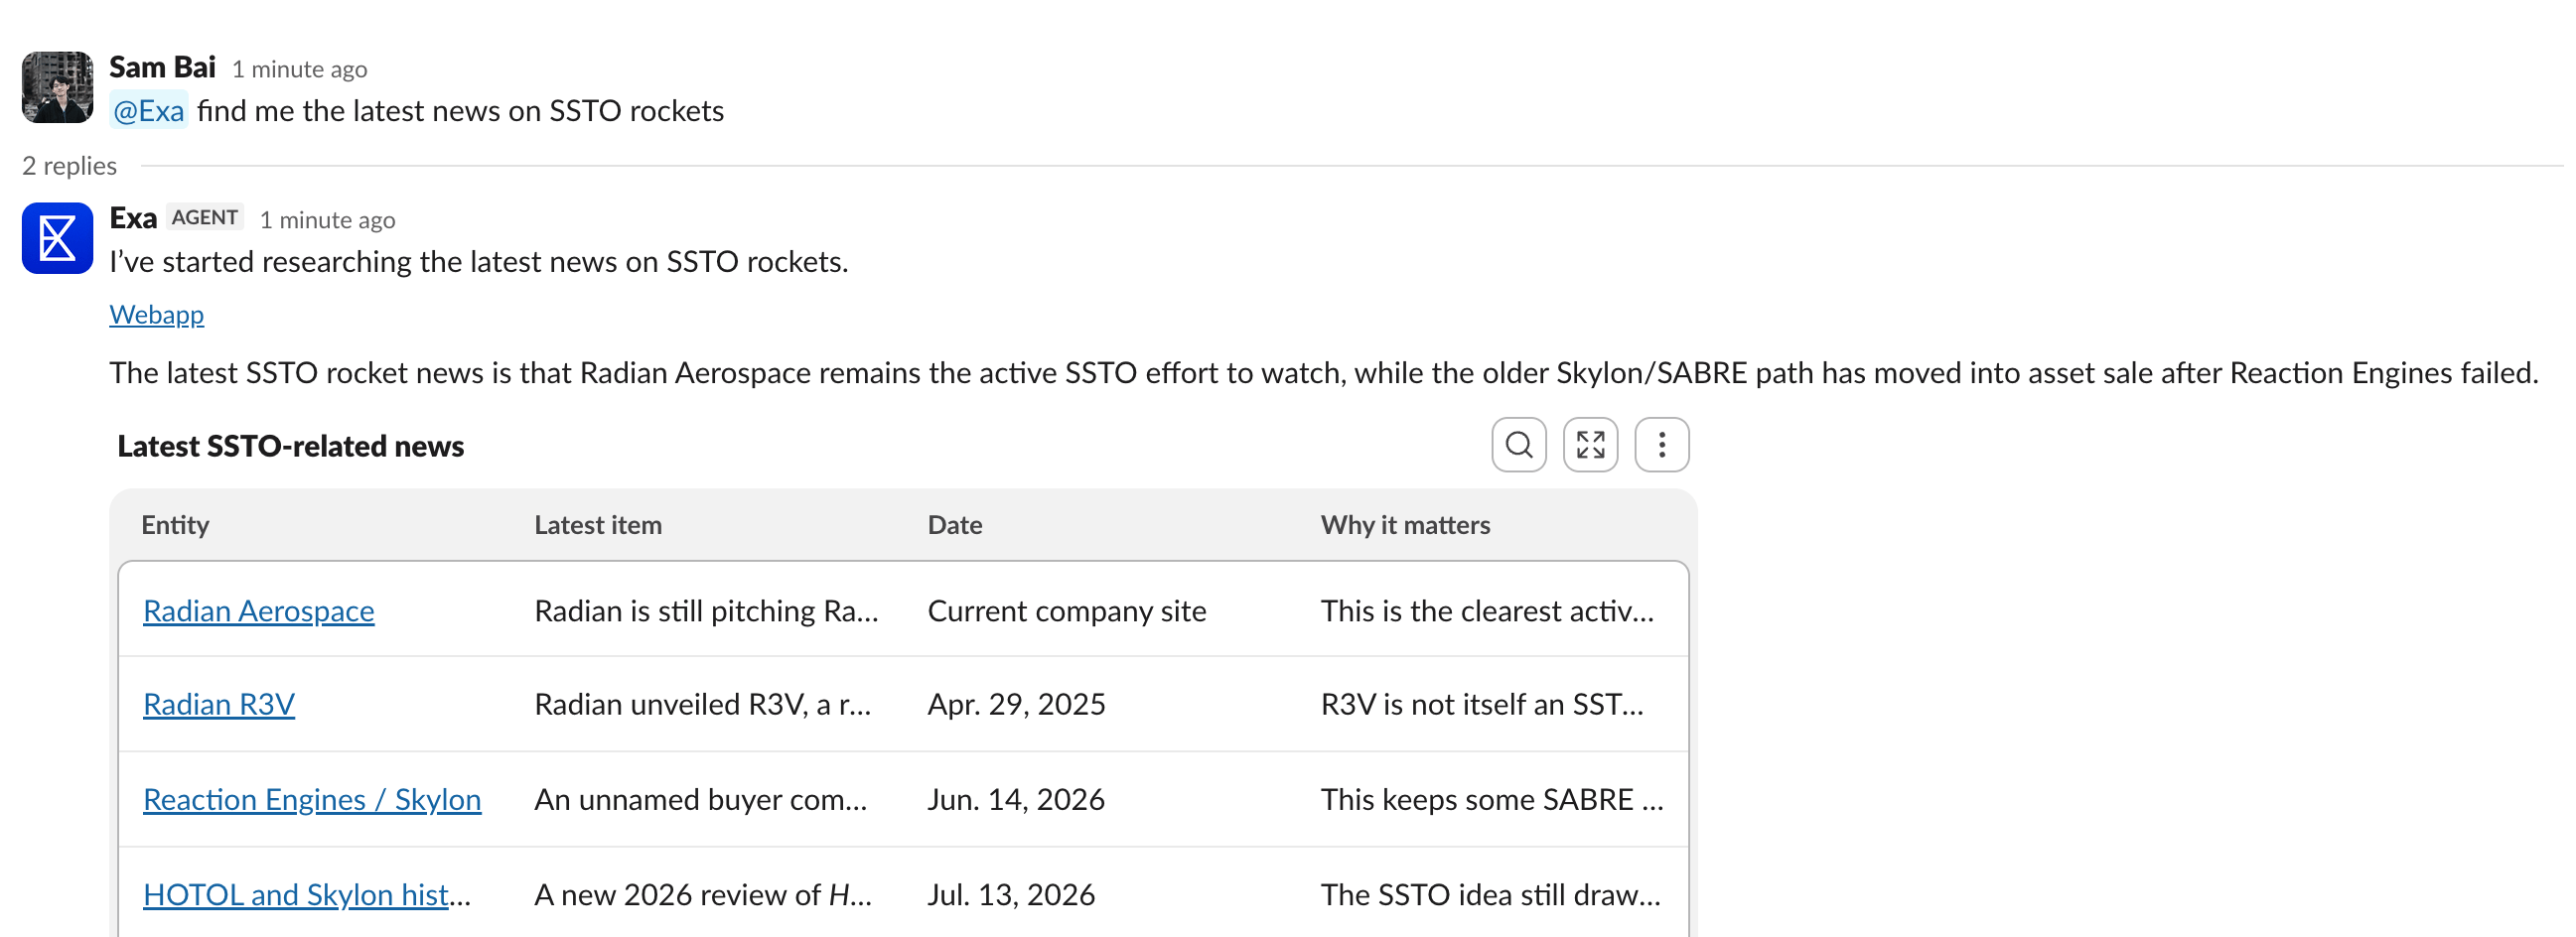
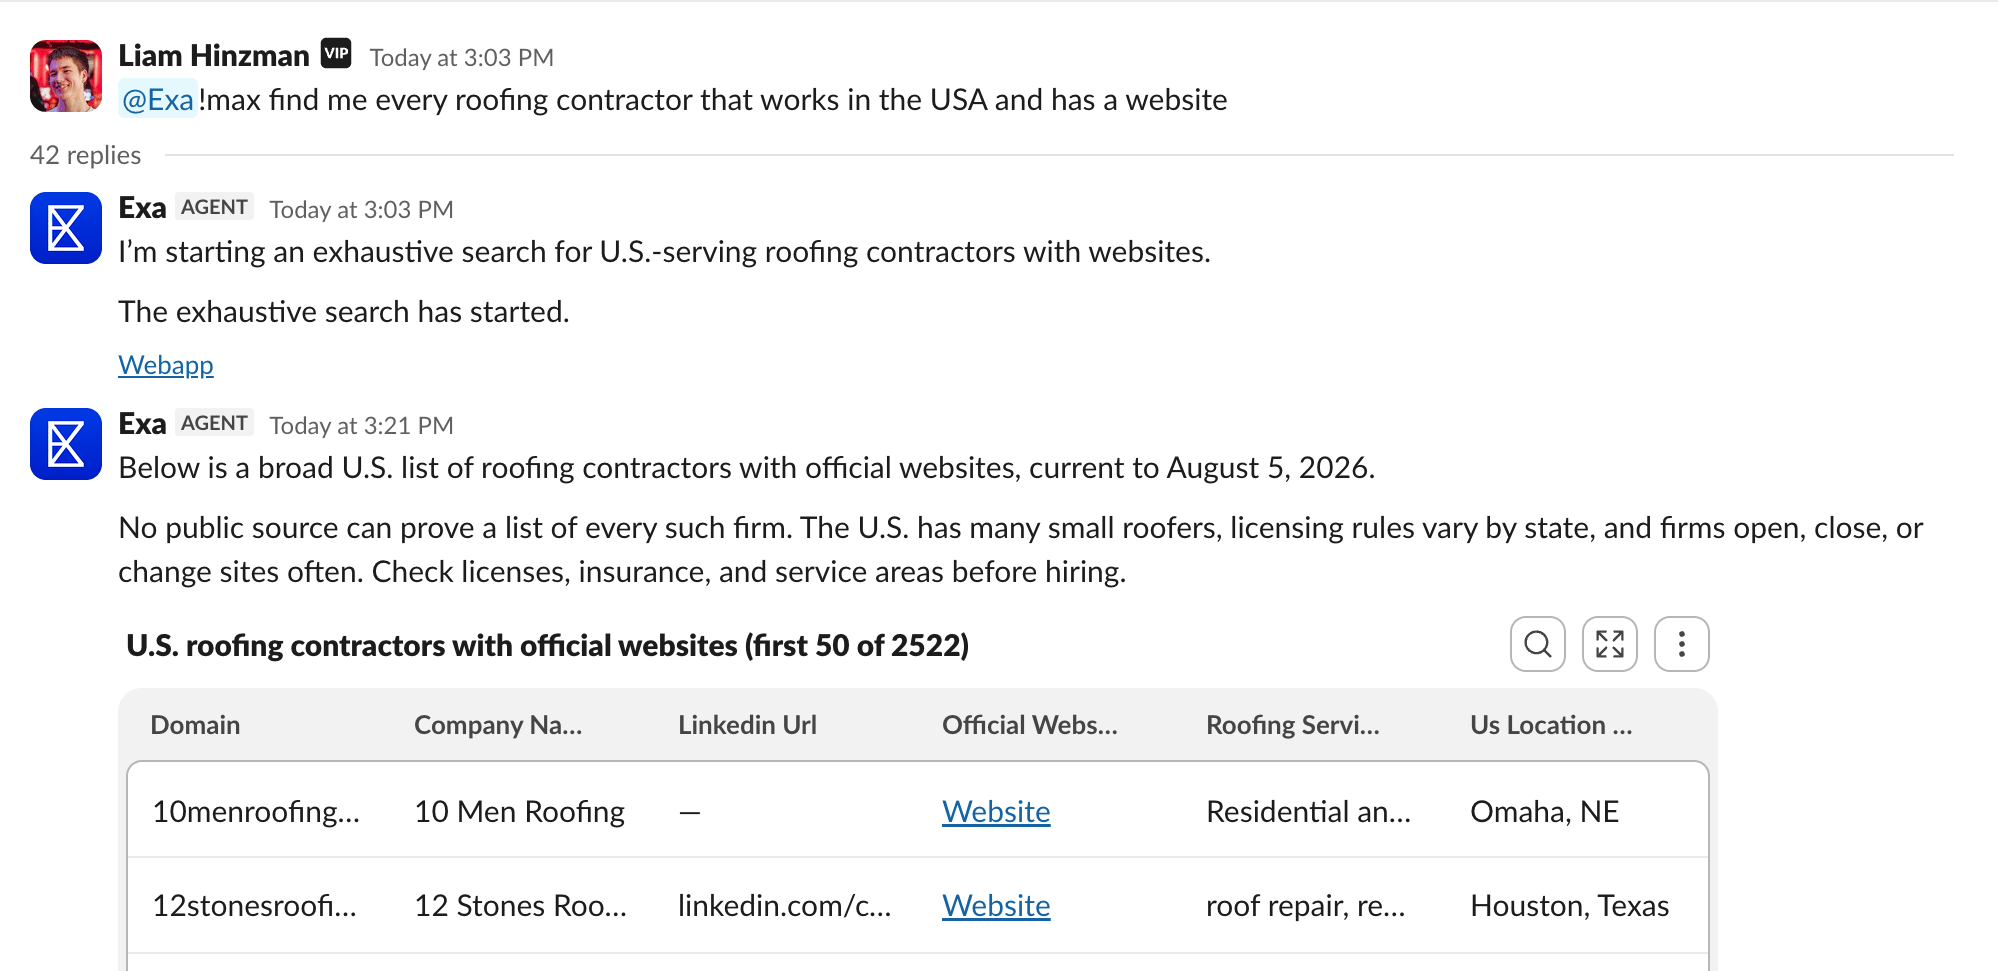
Large list building
Prefix the request with!max for exhaustive list building.
Keywords
Use these in a thread Exa is in. Commands can follow an@Exa mention or start the message
directly:
Permissions
The Exa app for Slack requests the following scopes:channels:read, groups:read, and im:write enable destination discovery for web-to-Slack sync.
Existing installations can continue using their current Slack threads without these scopes, but
must reconnect before using the corresponding destination. chat:write.customize is optional at
runtime: without it, web-synced messages keep the standard Exa app identity and include the
participant’s name in the message body.